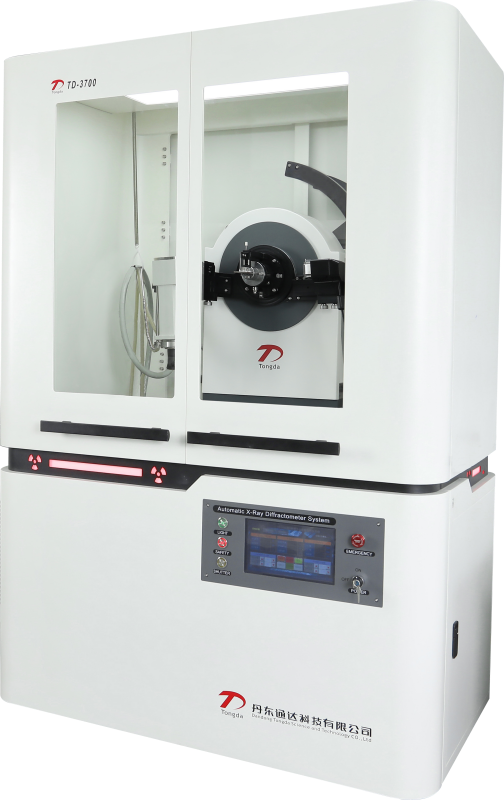
How Does anHow Does an XRD Diffractometer Decode Material Structure Through Diffraction AnglesDecode Material Structure Through Diffraction Angles
2026-01-07 16:11The X-ray diffractometer (XRD)is a key instrument for analyzing the crystal structure of materials. Its core principle is based on the "coherent scattering of X-rays by crystal atoms." By measuring the diffraction angle (the angle between the incident and diffracted X-ray directions) and analyzing the diffraction pattern in conjunction with Bragg's Law, it can accurately decode key structural information such as crystal type, interplanar spacing, and lattice constants. This provides an objective basis for material composition identification and phase analysis.

I. Core Principle: The Foundational Link Between Diffraction Angle and Crystal Structure
The Bridging Role of Bragg's Law: When X-rays strike a crystal, the periodically arranged atoms scatter the X-rays. A diffraction signal is produced when scattered waves from adjacent crystal planes (parallel planes formed by atomic arrangement) satisfy the condition for "constructive interference." This condition is quantitatively described by Bragg's equation: 2d·sinθ = nλ (where *d* is the interplanar spacing, θ is half the diffraction angle, *n* is the diffraction order, and λ is the X-ray wavelength). In this equation, the X-ray wavelength λ is known (e.g., λ = 1.54 Å for a copper target). By measuring the diffraction angle 2θ, the interplanar spacing *d* can be calculated. This *d*-spacing serves as a "characteristic fingerprint" of the crystal structure—different atomic arrangements in different crystals result in distinct *d*-values and corresponding diffraction angles.
The Structural Significance of Diffraction Angle: The diffraction angle directly reflects the size of the interplanar spacing. A smaller *d* results in a larger sinθ and thus a larger diffraction angle 2θ (e.g., crystal planes with high atomic density typically have smaller *d* and larger angles). Conversely, a larger *d* results in a smaller diffraction angle. For example, for face-centered cubic aluminum, its (111) plane has a *d*-spacing of approximately 2.338 Å, corresponding to a diffraction angle 2θ of about 38.4°; whereas for body-centered cubic iron, its (110) plane has a *d*-spacing of about 2.027 Å, corresponding to 2θ ≈ 44.7°. Differences in diffraction angles allow for rapid differentiation between crystal structure types.
II. The Decoding Process: From Diffraction Angle Data to Structural Information
Phase Identification: Matching the "Diffraction Angle Fingerprint": Each crystalline phase has a unique "diffraction angle - relative intensity" pattern (i.e., a standard PDF card). During an XRD test, the instrument scans through a range of diffraction angles 2θ (typically 5° to 90°) and records the diffraction peak intensity at each angle. The measured 2θ values of the peaks are compared against standard PDF cards. If the diffraction angles match within a specified deviation (e.g., ≤0.2°) and the peak intensity ratios are consistent, the presence of that phase in the material is confirmed. For instance, in an alloy material, if the measured pattern shows diffraction peaks at 2θ = 43.3°, 50.4°, and 74.1°, matching the standard PDF card for copper, it confirms the presence of a copper phase.
Lattice Constant Calculation: Precise Quantification of Crystal Dimensions: The lattice constant (e.g., *a* for a cubic crystal) is a key parameter describing the periodicity of atomic arrangement and can be calculated from the diffraction angle and Miller indices (hkl). For a cubic crystal, the relationship between interplanar spacing *d* and lattice constant *a* is: d = a / √(h² + k² + l²). Combining this with Bragg's Law gives: a = nλ √(h² + k² + l²) / (2 sinθ). By measuring the θ value for high-angle diffraction peaks (e.g., 2θ > 60° to reduce measurement error) and substituting the known Miller indices (e.g., for the (200) or (220) planes), the lattice constant *a* can be calculated. This helps in identifying lattice distortions (e.g., changes in *a* due to applied stress, which cause shifts in diffraction angle).
Crystallite Size and Stress Analysis: Subtle Changes in Diffraction Angle: When material grains are refined, diffraction peaks broaden. Using the Scherrer formula (β = Kλ / (D cosθ), where β is the peak broadening, D is the crystallite size, and K is a constant), combined with the diffraction angle θ and peak width β, the crystallite size D can be calculated. If internal stress exists, the lattice undergoes elastic deformation, causing a change in the interplanar spacing *d*, which in turn leads to a shift in the diffraction angle—tensile stress increases d, decreasing 2θ; compressive stress decreases d, increasing 2θ. The magnitude of this angular shift allows for quantitative analysis of internal stress.
III. Technical Advantages: Accurate and Efficient Structural Analysis
The XRD diffractometer decodes material structure through diffraction angle analysis without damaging the sample (non-destructive testing). It offers high resolution (diffraction angle precision up to ±0.001°) and can identify trace phases present at levels as low as 1%. The testing process is fast (a single scan typically takes about 10-30 minutes) and can simultaneously provide multi-dimensional structural information including phase composition, lattice constants, and crystallite size. It is widely used in structural analysis across fields such as metallic materials, ceramics, polymers, and minerals, providing core data support for material R&D and quality control.

