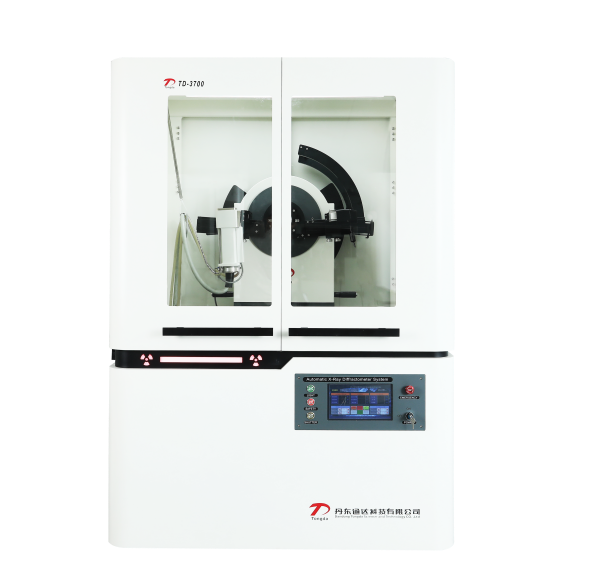
How to Conduct Material Analysis Using High-Resolution X-Ray Diffractometer
2026-01-30 08:41In the field of materials science and engineering, high-resolution X-ray diffractometers have become an essential tool. They provide detailed information on crystal structure, lattice parameters, atomic positions, and chemical composition, enabling researchers to gain deeper insights into the microstructure and properties of materials. This article discusses how to perform material analysis using a high-resolution X-ray diffractometer.

First, it is important to understand the basic principles of high-resolution X-ray diffractometer. When X-rays pass through a crystal, diffraction occurs due to the periodic lattice structure formed by the orderly arrangement of atoms. The interaction between X-rays and this lattice structure produces specific diffraction patterns. By measuring these patterns, the crystal structure can be deduced. High-resolution X-ray diffractometersutilize this principle to obtain detailed material information through precise measurement of diffraction patterns.
The primary advantage of high-resolution X-ray diffractometerslies in their high resolution. Traditional X-ray diffractometers are often limited in accurately measuring low-angle diffraction peaks due to instrumental constraints, which restricts the detailed information that can be obtained about crystal structures. In contrast, high-resolution X-ray diffractometers employ high-intensity X-ray sources and precise detectors to achieve accurate measurement of low-angle diffraction peaks, thereby providing more detailed crystal structure information.
When conducting analysis, the first step is sample preparation. The sample should be a single crystal or near-single crystal material free of impurities and stress. If the sample is polycrystalline or amorphous, further processing such as dissolution, melting, or annealing may be required to eliminate the effects of non-crystalline or polycrystalline structures.
Next, the sample is placed on the sample stage of the X-ray diffractometer, and instrument parameters such as the voltage and current of the X-ray source and the position of the detector are adjusted. The diffraction experiment is then initiated. During the experiment, the position and angle of the sample are continuously adjusted to capture the diffraction pattern.
Once the diffraction pattern is acquired, data analysis can proceed. First, background removal and noise filtering are performed to enhance data accuracy. Subsequently, computer software can be used to identify peak positions and analyze peak shapes. By comparing the sample’s diffraction pattern with known crystal structure patterns, the crystal structure type of the sample can be determined. Additionally, information about lattice parameters, atomic positions, and chemical composition can be obtained by measuring the width and intensity of diffraction peaks.
The high-resolution X-ray diffractometer is a powerful tool for material analysis, providing detailed information on crystal structure, lattice parameters, atomic positions, and chemical composition. By precisely measuring diffraction patterns, it helps researchers gain a deeper understanding of the microstructure and properties of materials, offering critical insights for the design and optimization of new materials.
